A lot of details have been worked upon since my last post, so I thought I’d provide everyone with an update of the progress in the building of the Greta T.
Of course, Spring, a new sailing season at both clubs to which I belong and volunteer (Water Rats in Toronto and Hamilton Bay Sailing Club), restoration of a very old and tired Laser as an addition to the HBSC’s two Lasers, and gardening have also been making their claims on my time as well. I find I don’t have any trouble getting to sleep in the evening these days….
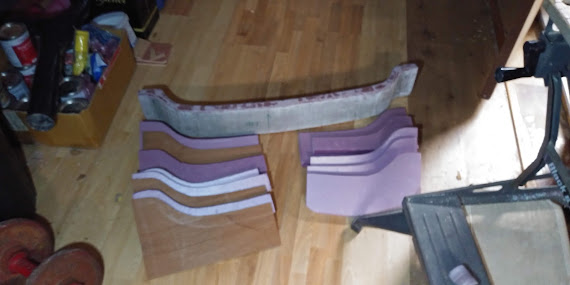
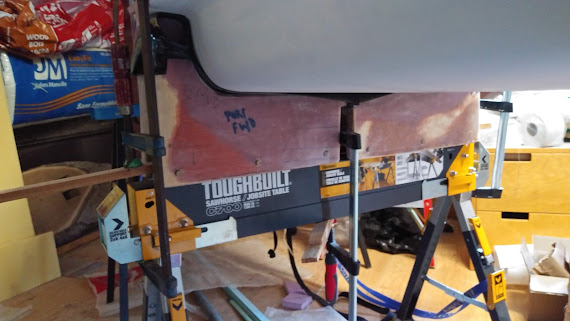
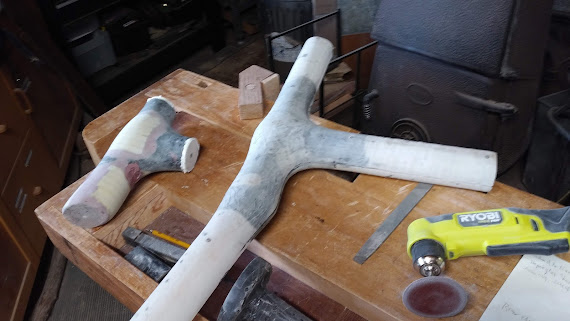
One of the last things I did before leaving Grand Bend and bringing the boat home for completion was to have Skip make two “castings” out of foam and fibreglass from two sections on the hull. The aim of this was to have the forms that fitted the shape of the hull in order to make “bunks”, or holders for the boat when it is on a trailer. I had used these, mounted on two saw horses, to hold the boat while I work on it – however they were not fitted with any wooden parts to properly fasten them. I decided to finish this job, figuring that all the skills I would need were going to be ones needed for the actual finishing of the boat and what better way than to practice/learn these skills before having to do the actual jobs on the boat itself. Finishing these two bunks gave me lots of practice in fibreglassing, making fillets, fairing with epoxy filler – and all my mistakes or less than great work could be hidden and wouldn’t make such a critical difference as this was all going on the trailer; it just had to be strong, not especially pretty.
Next, I’d like to update you on the re-build of the mast partners. Although a long and challenging job, it has gone well, and I am pleased to say that I think they are at least strong (and I know they are a LOT lighter) than my first set. This idea (of a bent mast holder in order to lean the masts to windward while sailing downwind) was taken from a design brief by a Swedish boat builder/designer (https://sassdesign.net/Helsa%20Rediviva%2050-50%20eng%20pdf.pdf) but unfortunately, when contacted, he was too busy to offer any details on how to actually make it! So I have had to stumble along as best as I can. If you’re interested in sailing canoes, I encourage you to read the article. It’s a pretty neat little boat!
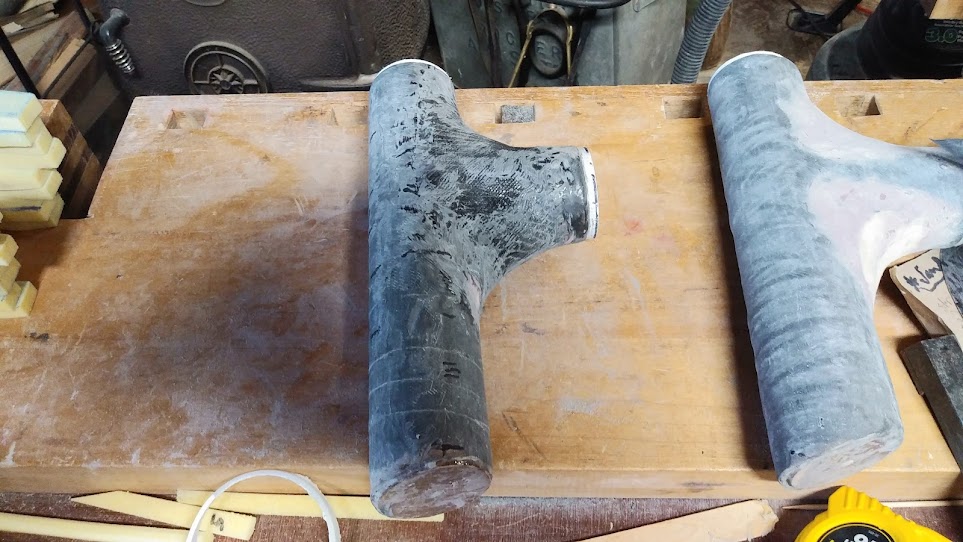
It started with making the male mould of the partner (I am making the foremast and mainmast partners identical and building a third one spare as insurance against breakage). A cardboard mailing tube, Bondo, tooling gelcoat and lots of elbow grease were involved!

Next, I made ( using a mailing tube again!) and shaped with foam two hollow inserts to fit inside (these will stop the mast and boom at the right depth when they are put into the partner).

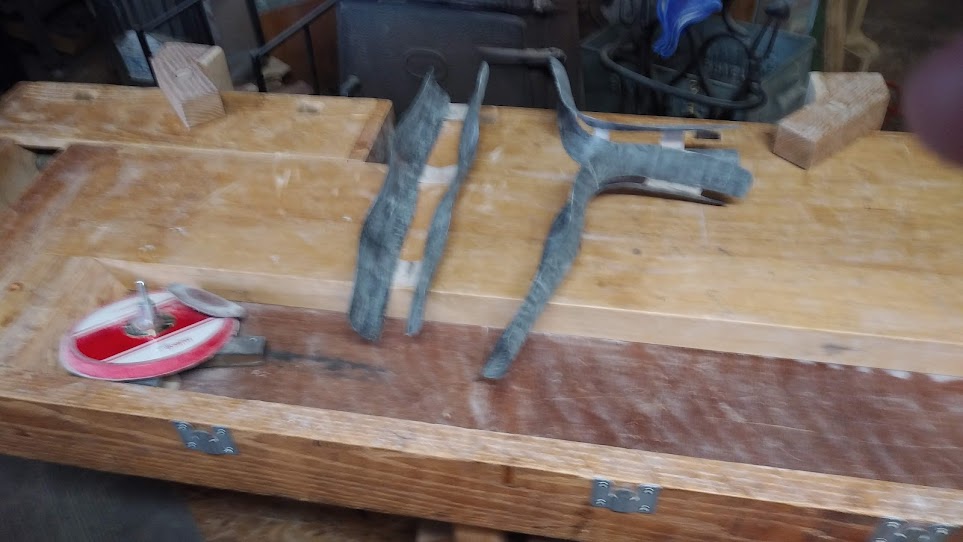
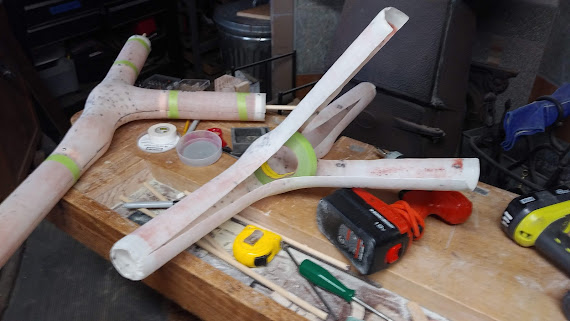
Next, I ran into a “technical difficulty”. As much as I wanted to keep the partners in one piece just as they came off the mould, I couldn’t think of a way to position and epoxy the inserts inside securely and accurately – and without voids. It was just too much of a struggle to fit it in place! The decision was made to cut the partners in half, lengthwise, and ‘glass and epoxy in the inserts and reattach the two halves. I made a jig to keep everything aligned while this was done. The wooden disks are taped to prevent epoxy from sticking and then held in alignment by the dowels and small screws through the fibreglass of the mast partner. Happily, these disks pulled out without too much trouble once the epoxying was done! I admit that I was holding my breath!

Here’s the result, ready for its outer layers of carbon fibre for stiffness and strength.
This project has certainly been a lot more than I had initially bargained for… and that’s largely down to my decisions to go with a lot of untested and somewhat radical ideas for the sails (angled masts, furling etc.) and the rowing (forward facing) and the shapes and construction by strip planking of the hull. Virtually everything has to be hand fabricated and unfortunately I spent a lot of time making a daggerboard that we decided to replace with two leeboards (partly finished now)! All of this has certainly been a steep learning curve for me and at the same time I have learned a lot about myself: the Old Man in this boat is a slow worker and takes a lot of time to think things through! Still, I reassure myself with the thought that this is very probably the only boat I will ever build (no, it is the only boat I am ever going to build!) so I might as well try something different.
It’s clear that there is still a lot more to be done and it all will take time before the Greta T is ready to rock and roll – and that’s somewhat discouraging. I also resolve not to let the recent Ontario election results get me down! … no, really – I’m only at the gnashing my teeth stage.
However, I continue to plug away at the boat and prepare for the Old Man in a Boat Tour, encouraged by my supportive family and by the kindness of offers of places to stay and help along the way from donors who live or have cottages close to where I will be passing. I’m pretty certain you will see me this summer!
